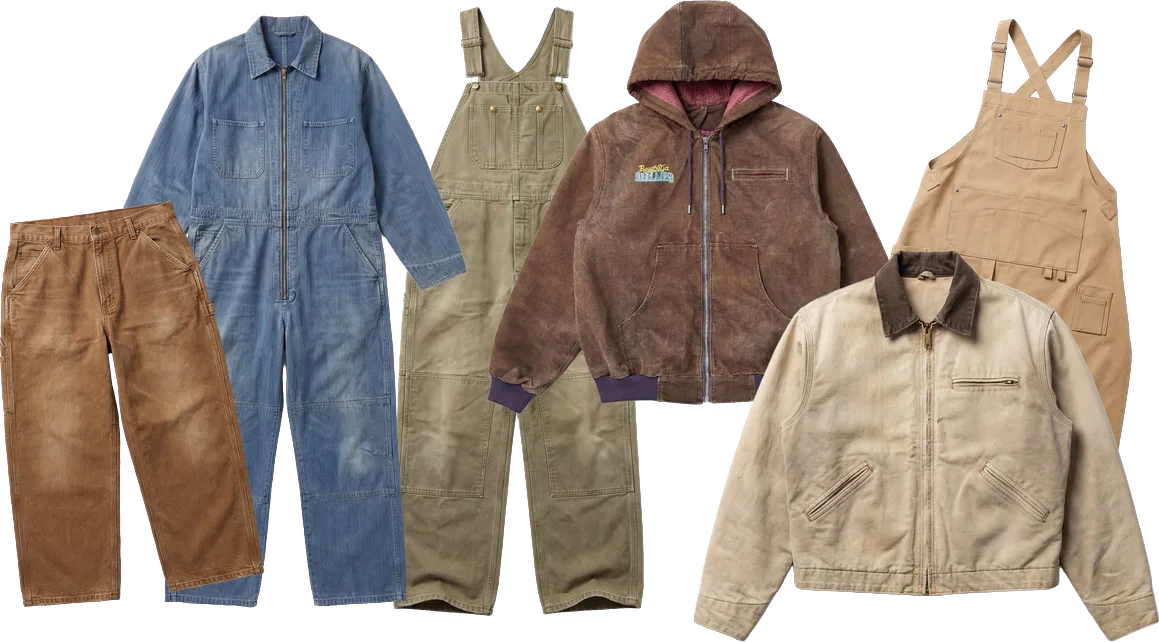
The Roughcut Workwear System
A full digital workwear sewing course — five complete patterns, 8+ build-along tutorials, and the full construction education an in-person course would charge hundreds for.
This is a digital pattern & course bundle. Your files are sent automatically by email straight after checkout.
- Use the correct email address at checkout
- Check your spam / junk folder if files don't appear within a few minutes
- Still missing files? Message WhatsApp Business with your order number
- We don't handle support via email, Instagram DM, Discord, or community chats
Build the full system, garment by garment
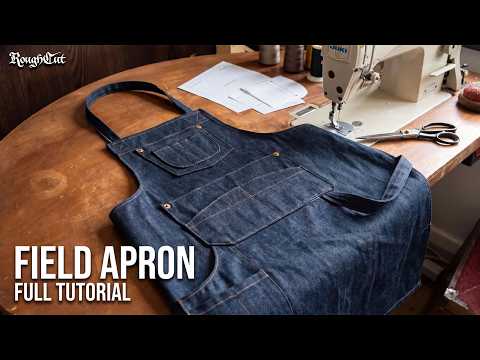
1 Field Apron
Heavy fabric handling, big panels, pocket construction, strap hardware, rivets, topstitching.
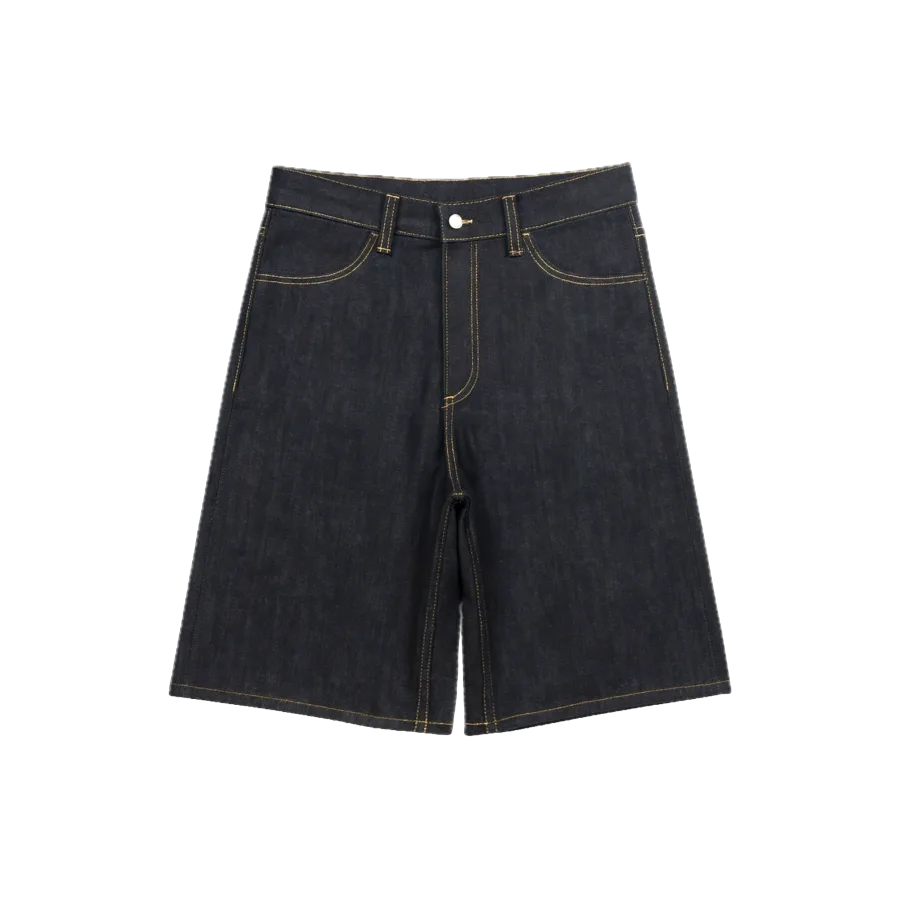
2 Yard Carpenters
Trouser construction — fly front, waistband, belt loops, carpenter pocket systems.
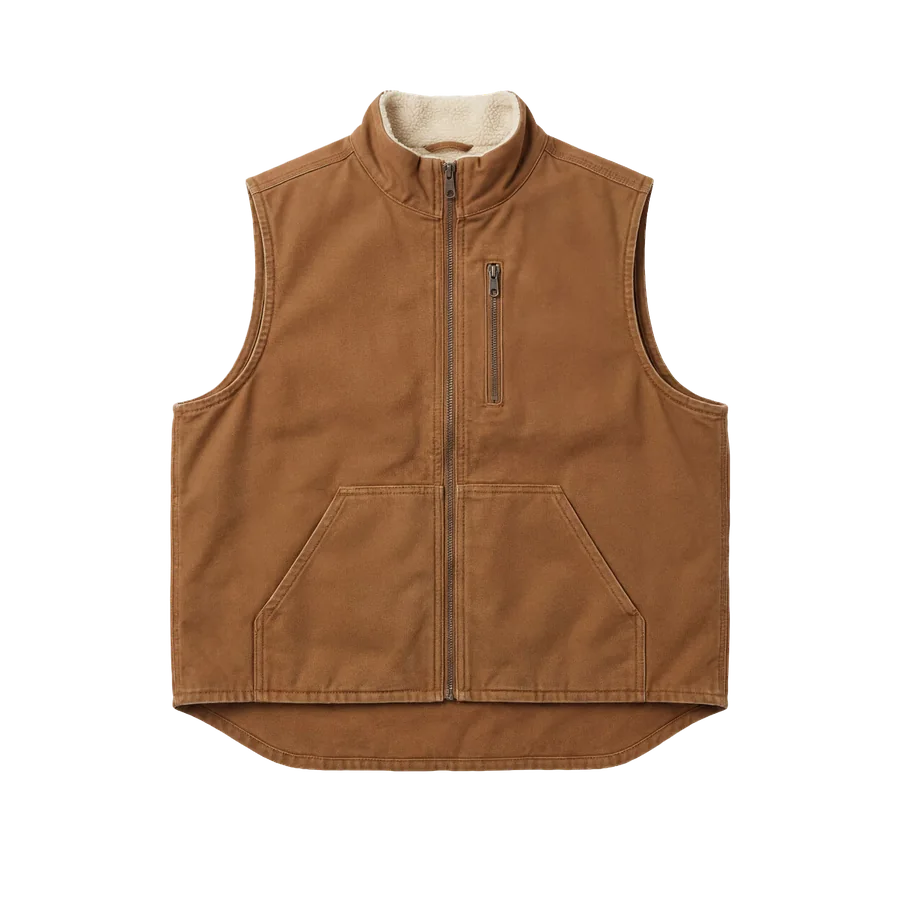
3 Yard Jacket
Lined outerwear — zip insertion, collar, cuffs, biswing back gusset.
4 Service Dungarees
Bib/trouser hybrid — strap systems, buckles, knee reinforcement panels, hardware fitting.
5 Service Coveralls
The full workwear system combined — the most advanced build in the series.
+ 6th Pattern — Unlocked Free
Unlocked at no extra cost during early access.
Designed to be built in order
Each pattern stands alone, but moving through the system in order builds your skills step by step — from foundational workwear construction into more advanced garment-making.
New to Roughcut? If you're a complete beginner, start with our free patterns (Industrial Tote, Kit Duffle) before tackling this system.
Press Here — Start Page8+ tutorials · 25+ hours of build-along footage
Tap a build to open its tutorial below.
Field Apron — full build-along
Open on YouTubeYard Carpenters — Part 1
Open on YouTubeYard Carpenters — Part 2
Open on YouTubeYard Jacket — full build-along
Open on YouTubeService Dungarees — full build-along
Open on YouTubeService Coveralls — full build-along
Tutorial status: coming soon — this build combines the techniques from the patterns above. Check back or follow on YouTube for the release.
Printing & tiling guide
Full step-by-step printing, tiling and cutting guidance is on the Help page.
Open Help Page📐 Printing Box
- Files included for A0, A4 and US Letter for each pattern
- Print at 100% / actual size — never "scale to fit" (print guide included)
- Measure the 2" × 2" test square before cutting any fabric (has to be perfect)
- Print from a laptop/computer for the most reliable print settings
- A0 files can be taken to a local print shop
- Printed & Shipped physical patterns are also available if you'd rather skip tiling & sticking at home
📎 Tiling Pages?
If you're printing at home on A4 or US Letter, your pages need tiling and sticking together before cutting fabric. Full instructions — tiling, sticking, cutting and pre-production — are covered on the Help page.
Open Help Page✂️ Seam Allowance Box
- Every Roughcut pattern (except a few early patterns like the Ushanka Cap and Duffle Bag) already has 1/4" seam allowance built in
- Cut directly on the pattern line — no need to add anything
- Hems, pockets, flat-felled seams and hardware areas may use different allowances — these are stated in the tutorial
- If unsure, refer to the tutorial before cutting
⚠ First Build? Read This First
- Buy a little extra fabric — mistakes happen while learning, and there's no room for re-cutting otherwise
- Don't cut your final fabric until your test square is correct
- Watch the relevant tutorial before cutting into good fabric
- Use scrap or cheap test fabric to practise tricky steps if unsure
MACHINE
OK
Built for your home machine
Every pattern in this system is designed and tested on a standard domestic sewing machine. With the right needle, thread and fabric weight for each build, no industrial equipment is needed — the tutorials walk you through exactly what to use at each stage.
Everything in the system
Missing files? Check your email (and spam/junk) first.
Printing or tiling problem? Open the Help page below.
Sewing problem? Watch the relevant tutorial first.
Still stuck? Message WhatsApp Business privately with your order number, pattern name, the email used at checkout, and a photo/screenshot of the issue.
Community chats are for sharing builds — not order or support issues.